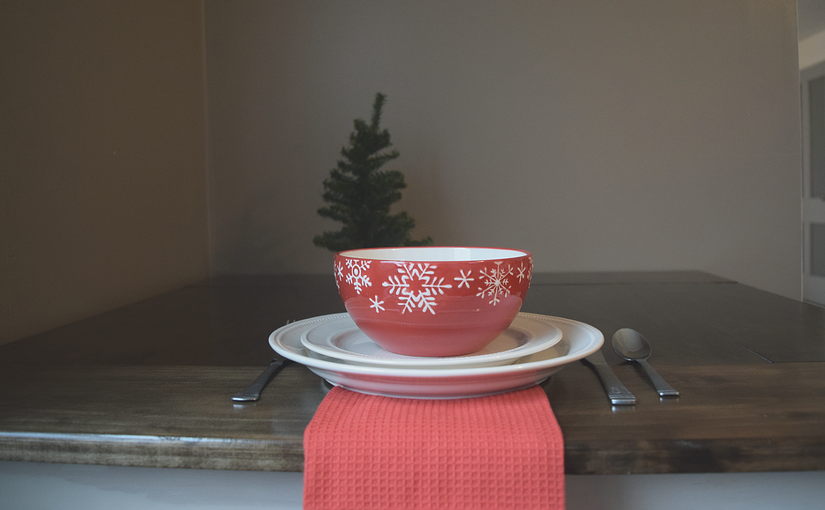
When Cody and I moved into our apartment, we realized the 5 person dining table from his great grandpa wasn’t going to fit in our eat-in kitchen. And neither was anything we could buy for a reasonable price. So we made our own, without too many missteps.
Keep scrolling for our entire shopping and cut lists!
This project took us the better part of 3 weeks, but it could easily be finished in a weekend if you don’t have as many distractions as we did. I wasn’t planning on posting about this project, so I don’t have step-by-step photos – but it turned out too good not to share! I love how simple it is, which makes it easy to decorate no matter the season.
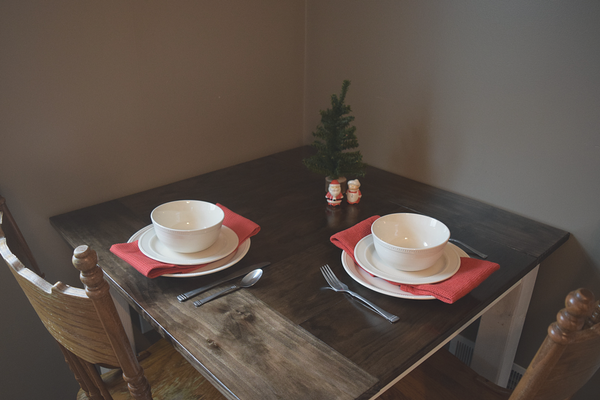
As always, measure twice and cut once! We found that after cutting our five short pieces for the table top, the width was slightly more than what we estimated; it all depends on the cut of the boards. After cutting and sanding everything individually, we assembled the legs, aprons and support bar. The apron is set in a quarter inch from the outside of the legs. We measured at both the top and the bottom of the apron, then put on wood glue before attaching the pieces with screws.
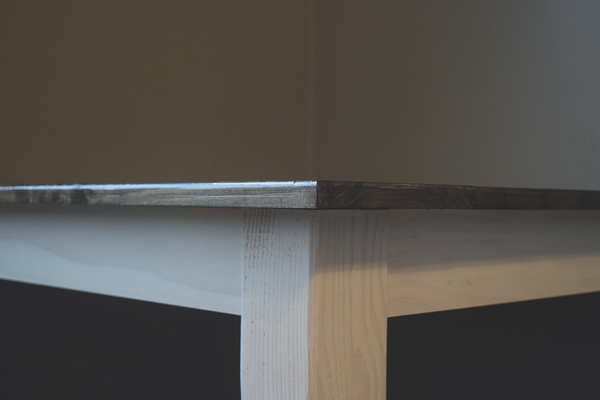
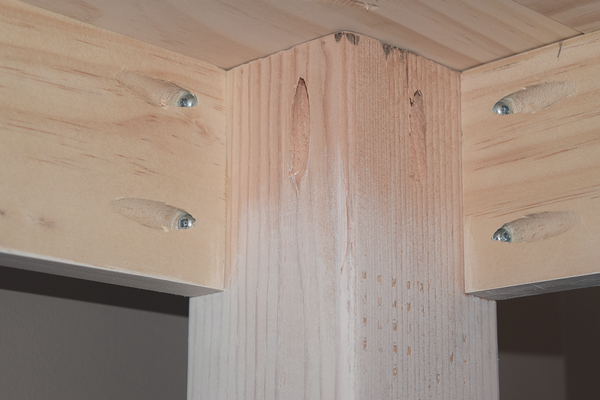
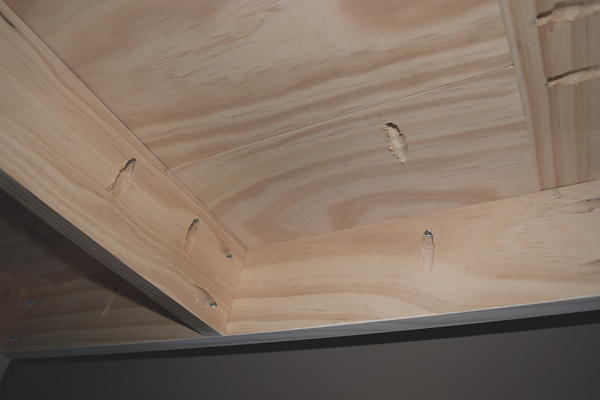
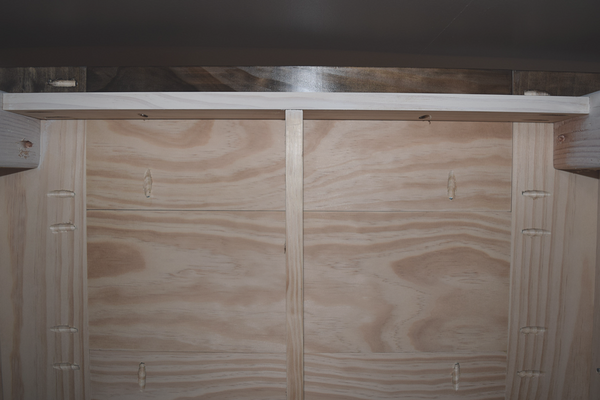
For the top, we assembled everything on the ground before attaching that to the base. Once everything was together, we sanded the top again to knock down some of the less than perfect seams. We could have planed either the pieces individually or the table top as a whole, but that would have slowed us down even more, so we chose to love the imperfections on the top.
If you have the space, it would be easier to stain and paint before attaching the two pieces, but we did not do this. Painter’s tape worked just fine to keep the stain and paint separate.
We chose a dark wood stain for the table top, to make up for the fact that we used pine (which was wayyy less expensive than hardwood) and painted the legs a creamy white.
To get the finished look, we used just 1 coat of Minwax’s Wood Finish Penetrating Stain in Espresso 273 and 3 coats of Mixwax’s water based Polycrylic protective finish. The only downside is that this finish is not super heat-resistant. For the legs, I used this tutorial on color washing with Behr’s Heavy Cream. It’s very easy and takes almost no paint, which is nice.
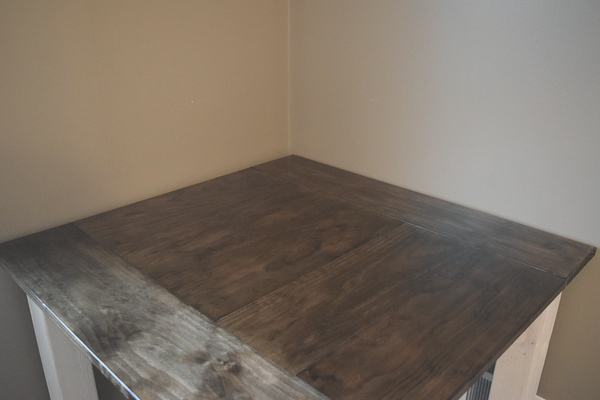
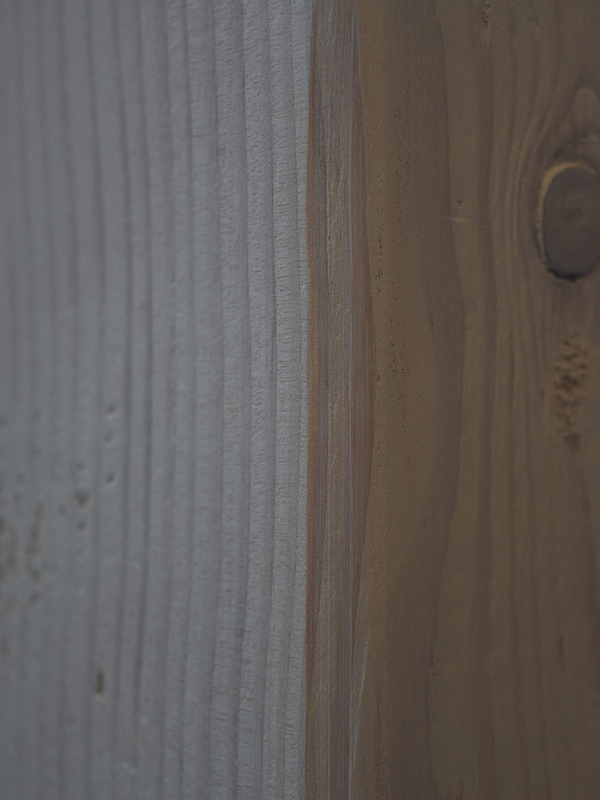
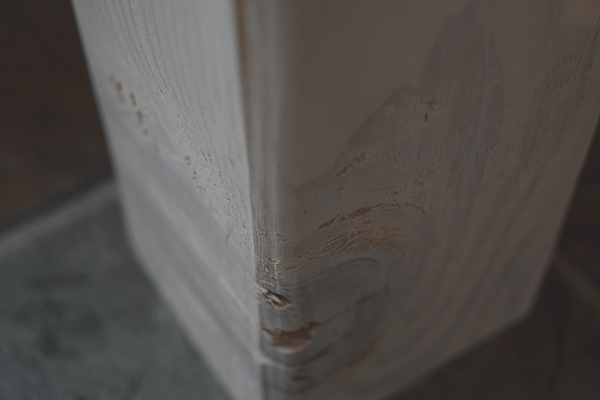
Eventually, I’d like to find chairs that are a little more farmhouse style, but we’re using the chairs from Cody’s grandpa’s table and they work just fine!
Shopping List
2 4″x4″x8′ fir boards
2 1″x8″x8′ pine boards
2 1″x4″x6′ pine boards
8 oz Minwax Polycrylic Protective Finish
8 oz Minwax Wood Finish Penetrating Stain
8 oz Behr Premium Plus Ultra Interior Matte
Kreg Pocket Hole Jig Kit
Kreg 100 Count 1-1/4 inch Screws
4 oz Elmer’s Carpenter Wood Glue
Paintbrush
Fine Sandpaper (for between coats of Polycrylic)
Materials We Already Had
5″ Orbital Sander
5″ Orbital Sandpaper (a medium grit works fine)
Cut List
For the Top
5 21.75″ from the 1x8s (Four of these will come from 1 board and 1 from the 2nd board)
2 36.25″ from the 1x8s (This may change slightly, depending on the exact width of your 1x8s.)
For the Aprons and Support
4 26.25″ from the 1x6s
1 31.25 from the 1x6s
For the Legs
4 identical cuts from the 4x4s (The height will depend on what chairs you’re using; it really doesn’t matter as long as they’re all the same!)

