When we started apartment hunting three years ago, we weren’t necessarily looking for a second bedroom. When we found a duplex that not only offered two bedrooms, but half a basement and half a garage, we jumped at the opportunity for a little extra space. The second bedroom slowly became part guest room/part junk room. It collected Christmas presents we didn’t quite have a home for yet, drying clothes, empty boxes, craft supplies, and a lot more.
When I started working from home in March, it was the first time I had ever sat at the desk we put in the second bedroom almost three years ago. The extra space became a saving grace; without it, I would have turned our kitchen table into a semi-permanent office space. At first, the clutter and mismatched furniture didn’t bother me – everyone was making do with odd spaces while working from home.
However, as it became obvious that this would be my workspace for a lot longer than originally anticipated and our clients headed back to their offices, working in this space lost what little draw it had initially.
My Do It Yourself Upgrade
How could I make the room both more welcoming for guests and more functional for the 40 hours a week I now spend in it? Of course, I also didn’t want to spend a ton of money on updates, so I needed to utilize furniture I already had. The bed and desk stayed, as did the lamp. I swapped out plastic drawers for a dresser that was still at my parents’ house.
I wanted to take what we already had and meet three goals:
1. A Less Cluttered Workspace
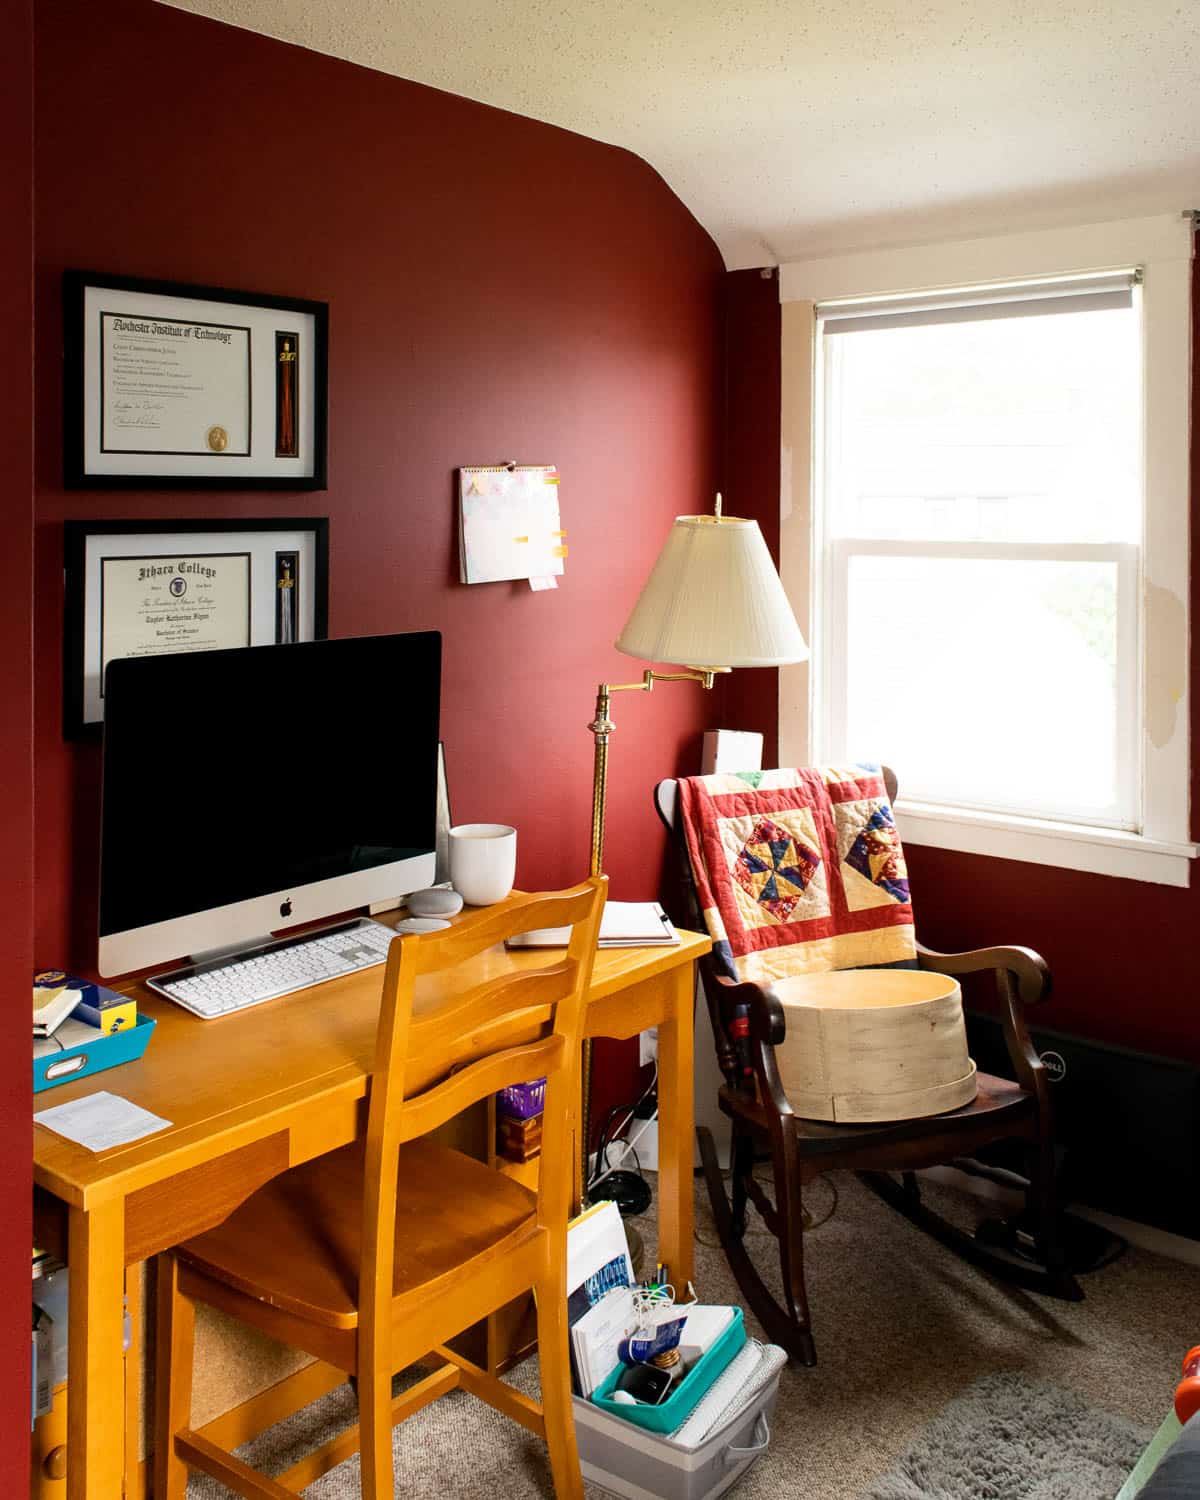
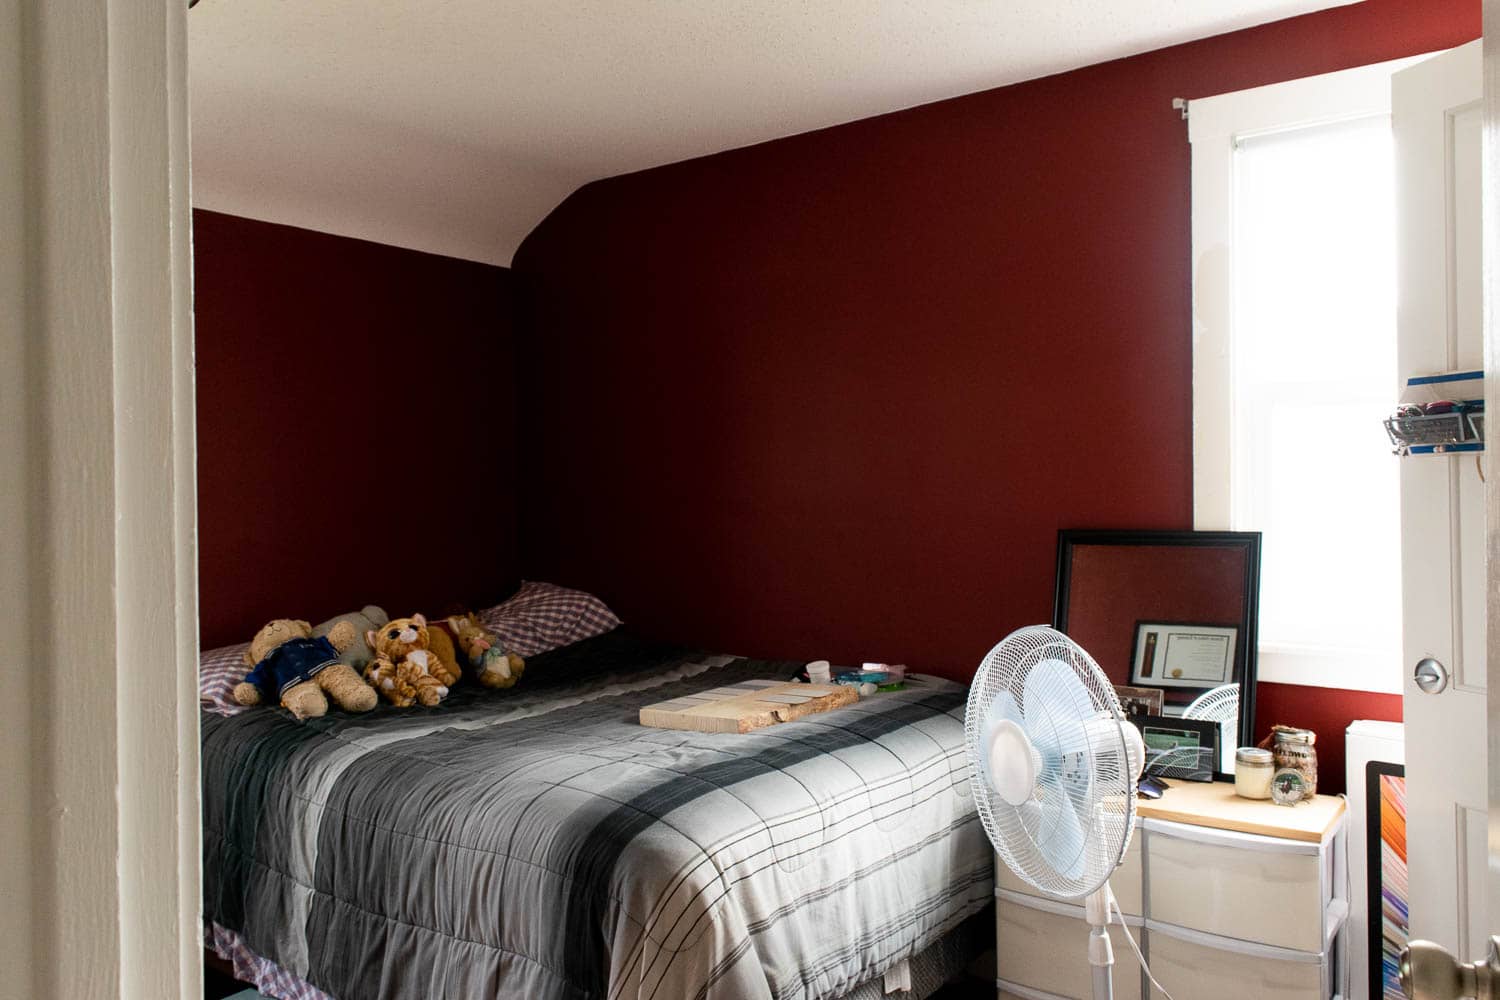
This room now has to function as an office, first and foremost. I made two big changes to make working from the guest room a little bit easier. First, I rearranged the furniture to add more space between the big pieces of furniture. Switching the desk and bed to opposite walls, along with flipping the direction of the area rug, makes it easier to move my chair around. I also moved the shelves to the top of my desk (they had been below it) to give my legs a little bit more room.
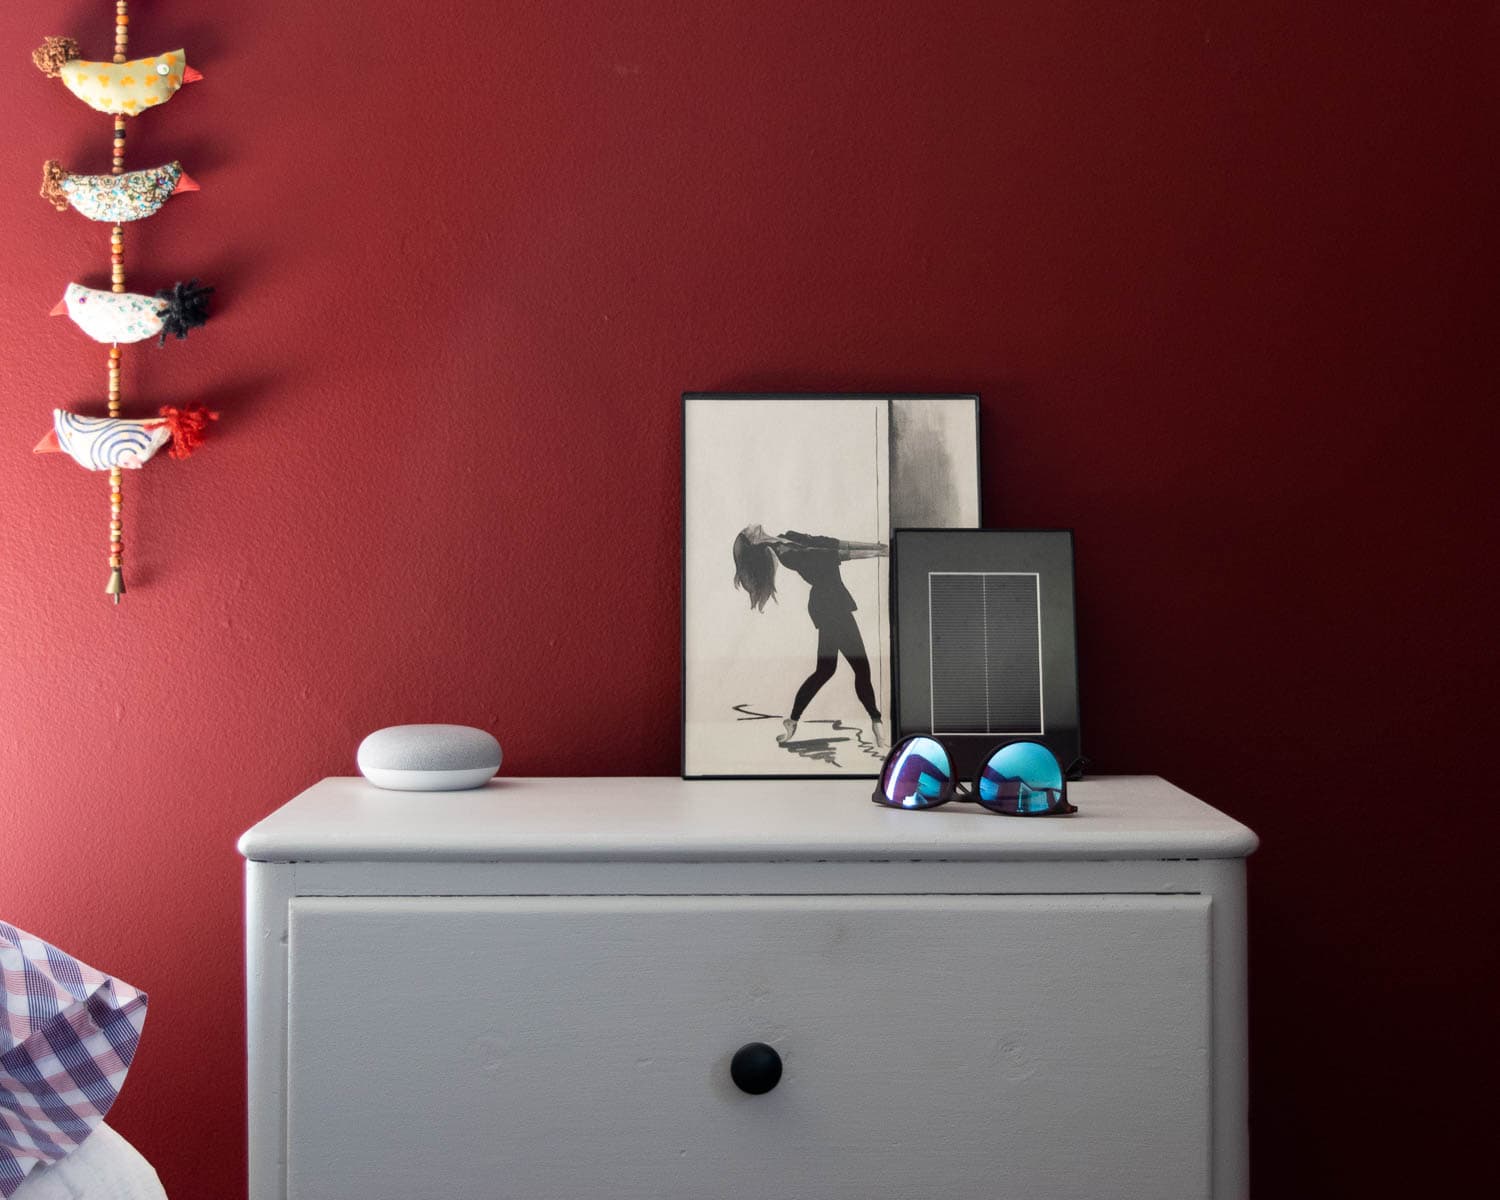
The plastic drawers, which were remnants of dorm room living, were the thing I liked least about my video chat background. One was filled with craft supplies, while the other held a combination of skincare and scarves. I knew I still needed that storage space, so I brought my childhood dresser to the apartment. It still had tulip drawer pulls and hand-painted grass on it, which is not exactly the aesthetic I had in mind for this update. Two coats of Behr’s Whitewash Oak and simple drawer pulls gave this dresser new life.
In the coming weeks, we’ll probably add a small table next to the desk for our printer too. Hopefully, we can find something for next to nothing at a garage sale or on Facebook Marketplace and, if we need to, use leftover paint or stain to freshen it up.
2. An Upgraded Guest Experience
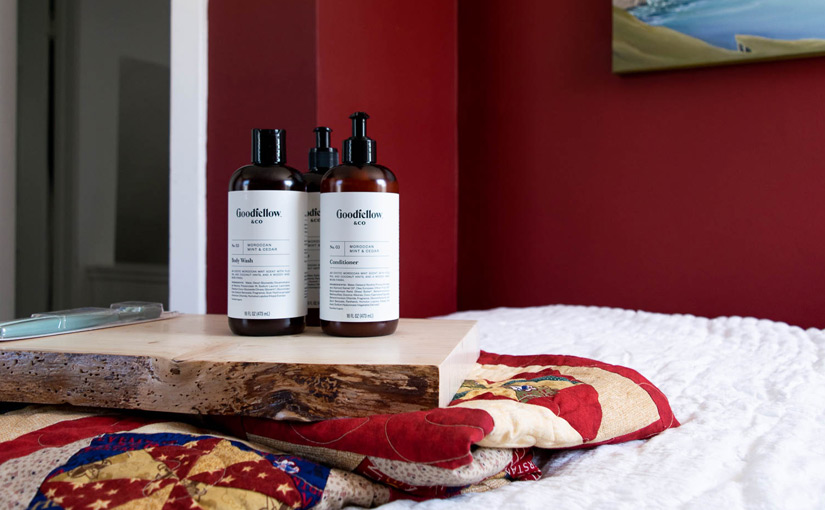
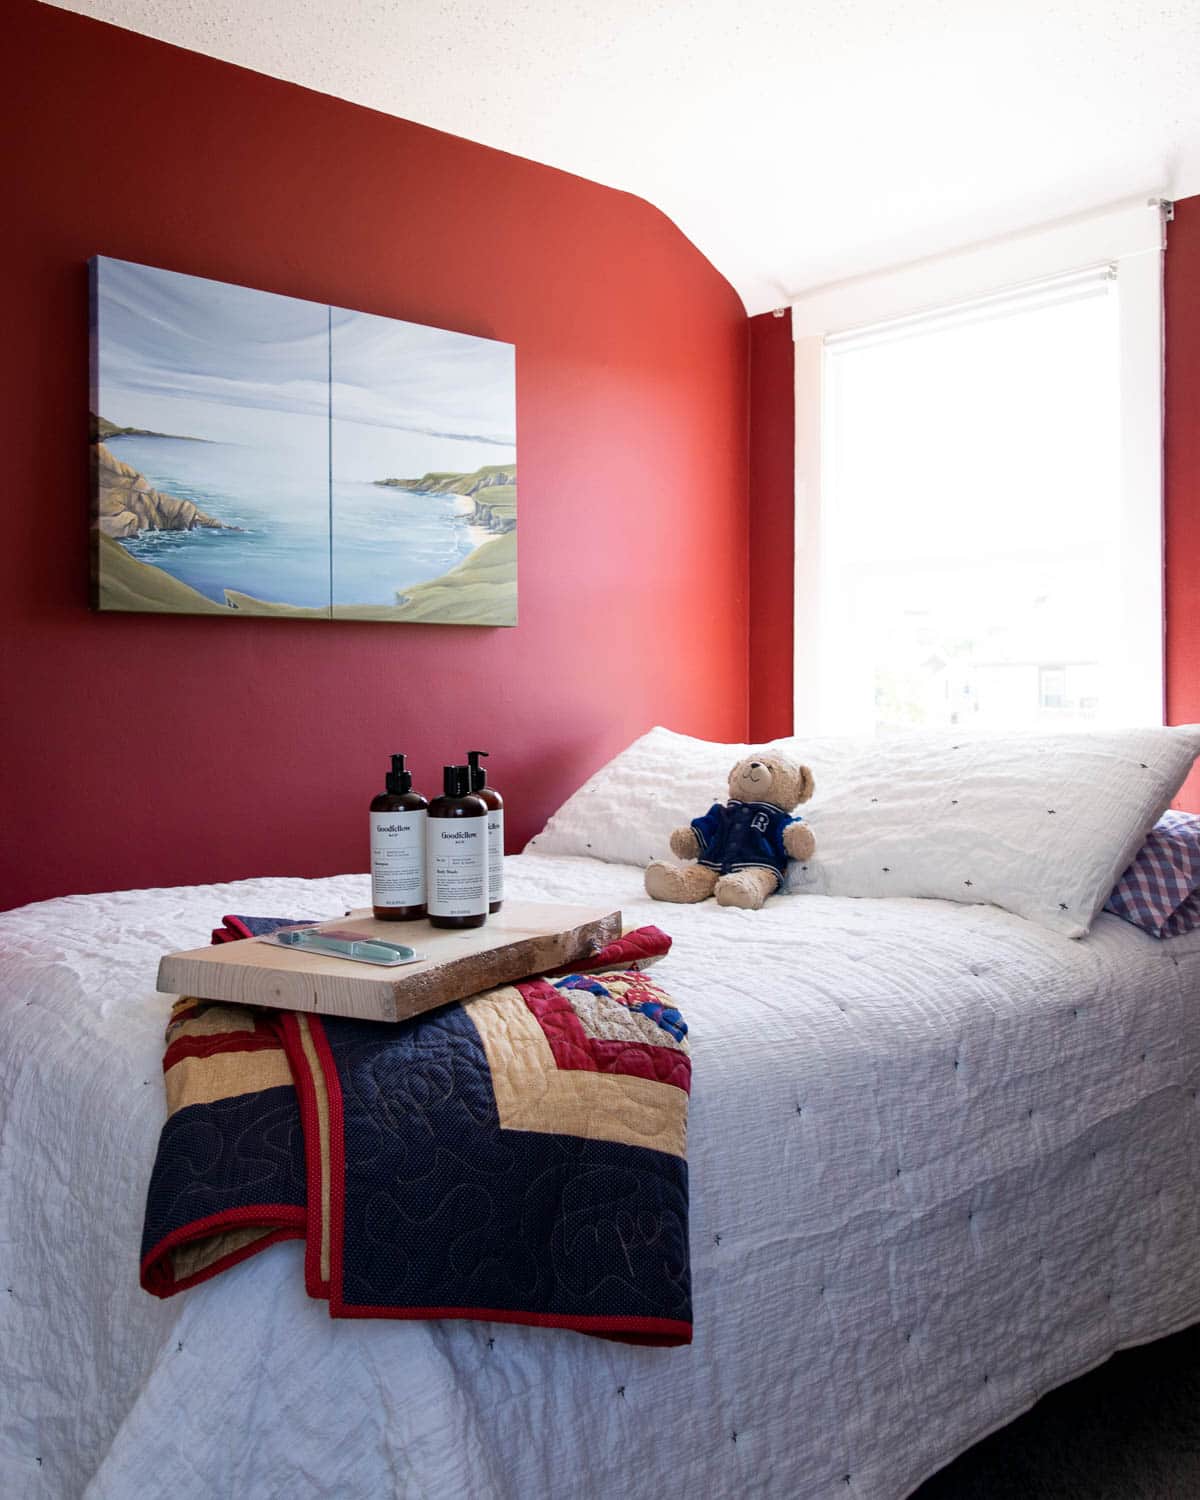
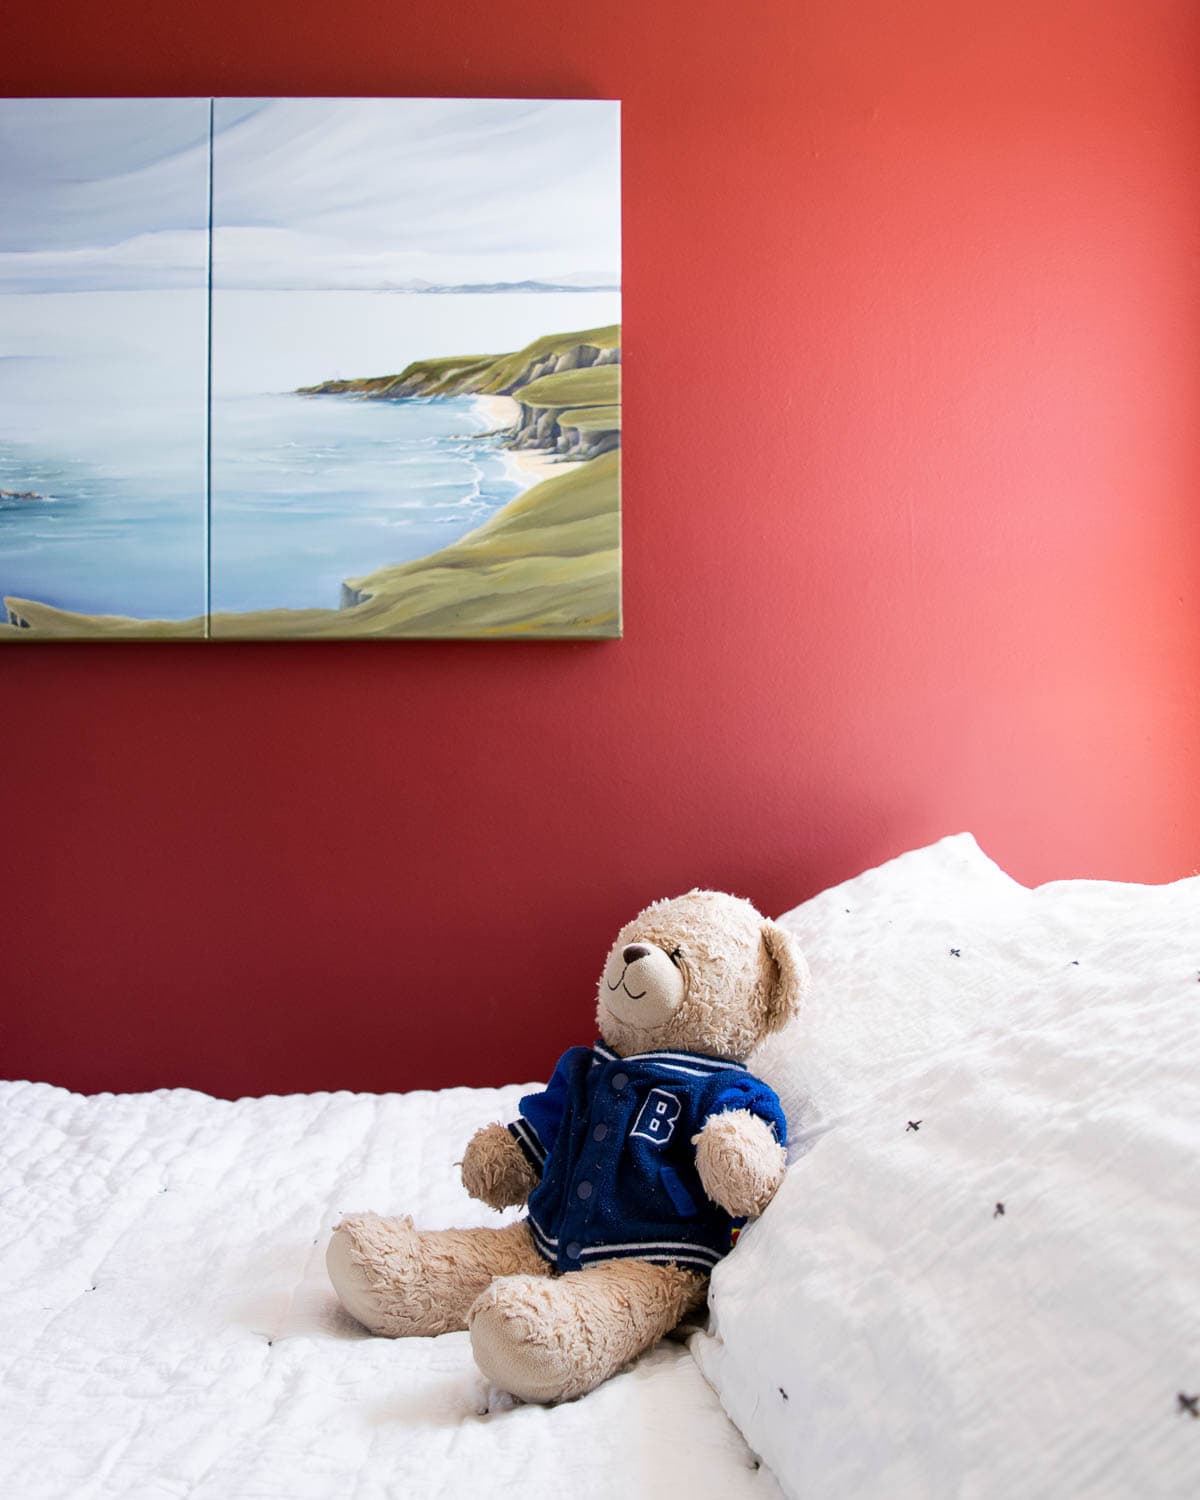
We have an extra bed, and I would hate to have it off-limits just because our guest bedroom is also an office now. Nothing was really wrong with the bedding, but it is primarily what’s in the background of my video calls so I decided an upgrade was worth it. A new white bedspread (from Hearth & Hand) lightens the room and offers a neutral backdrop for a few guest must-haves. It also gives us a place to use a gorgeous live edge plank my dad finished and a beautiful quilt Cody’s grandma made.
3. A Few Pretty Touches
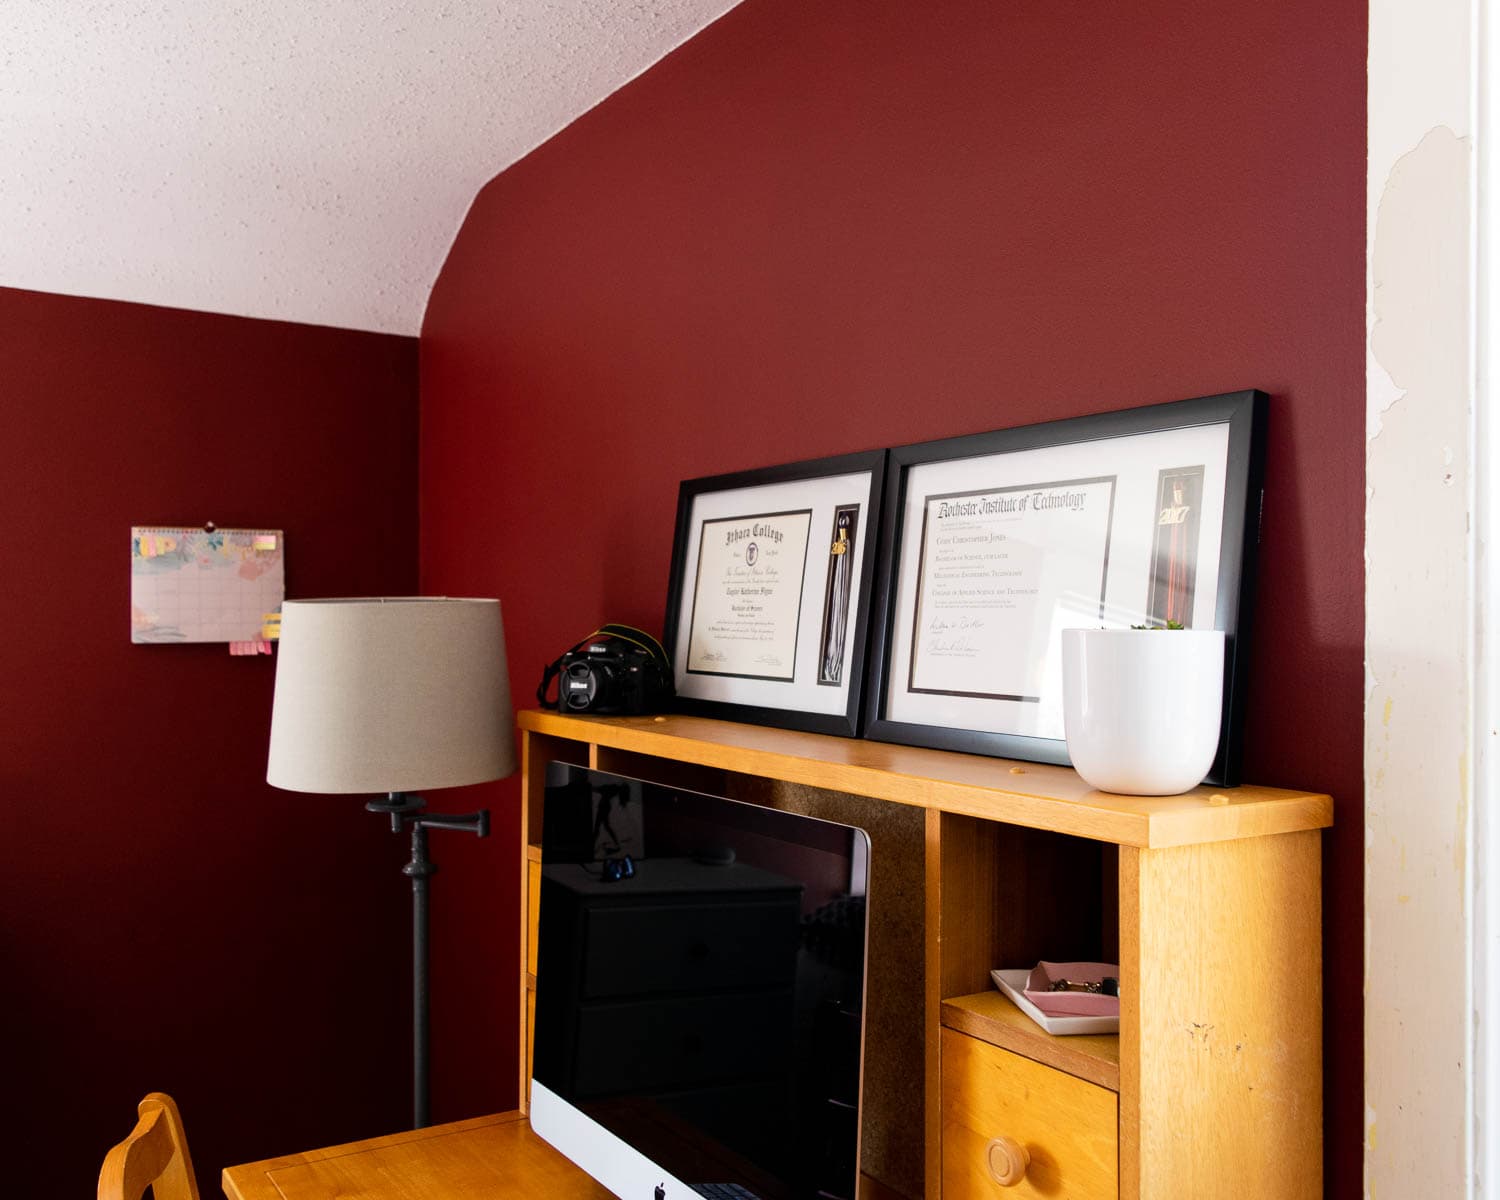
Paige gifted Cody and I a stunning two-panel painting of a cliff outside an Irish fishing village a few years ago. I didn’t want to hang it somewhere I wouldn’t see it, so it’s been living in a box at my parents’ house (where I never saw it…) instead. This seemed like a good opportunity to put the painting in a space where I would see it constantly. I’m also over the whole “we can’t put nails in the walls” thing, because after three years we will probably not see much of our security deposit anyway.
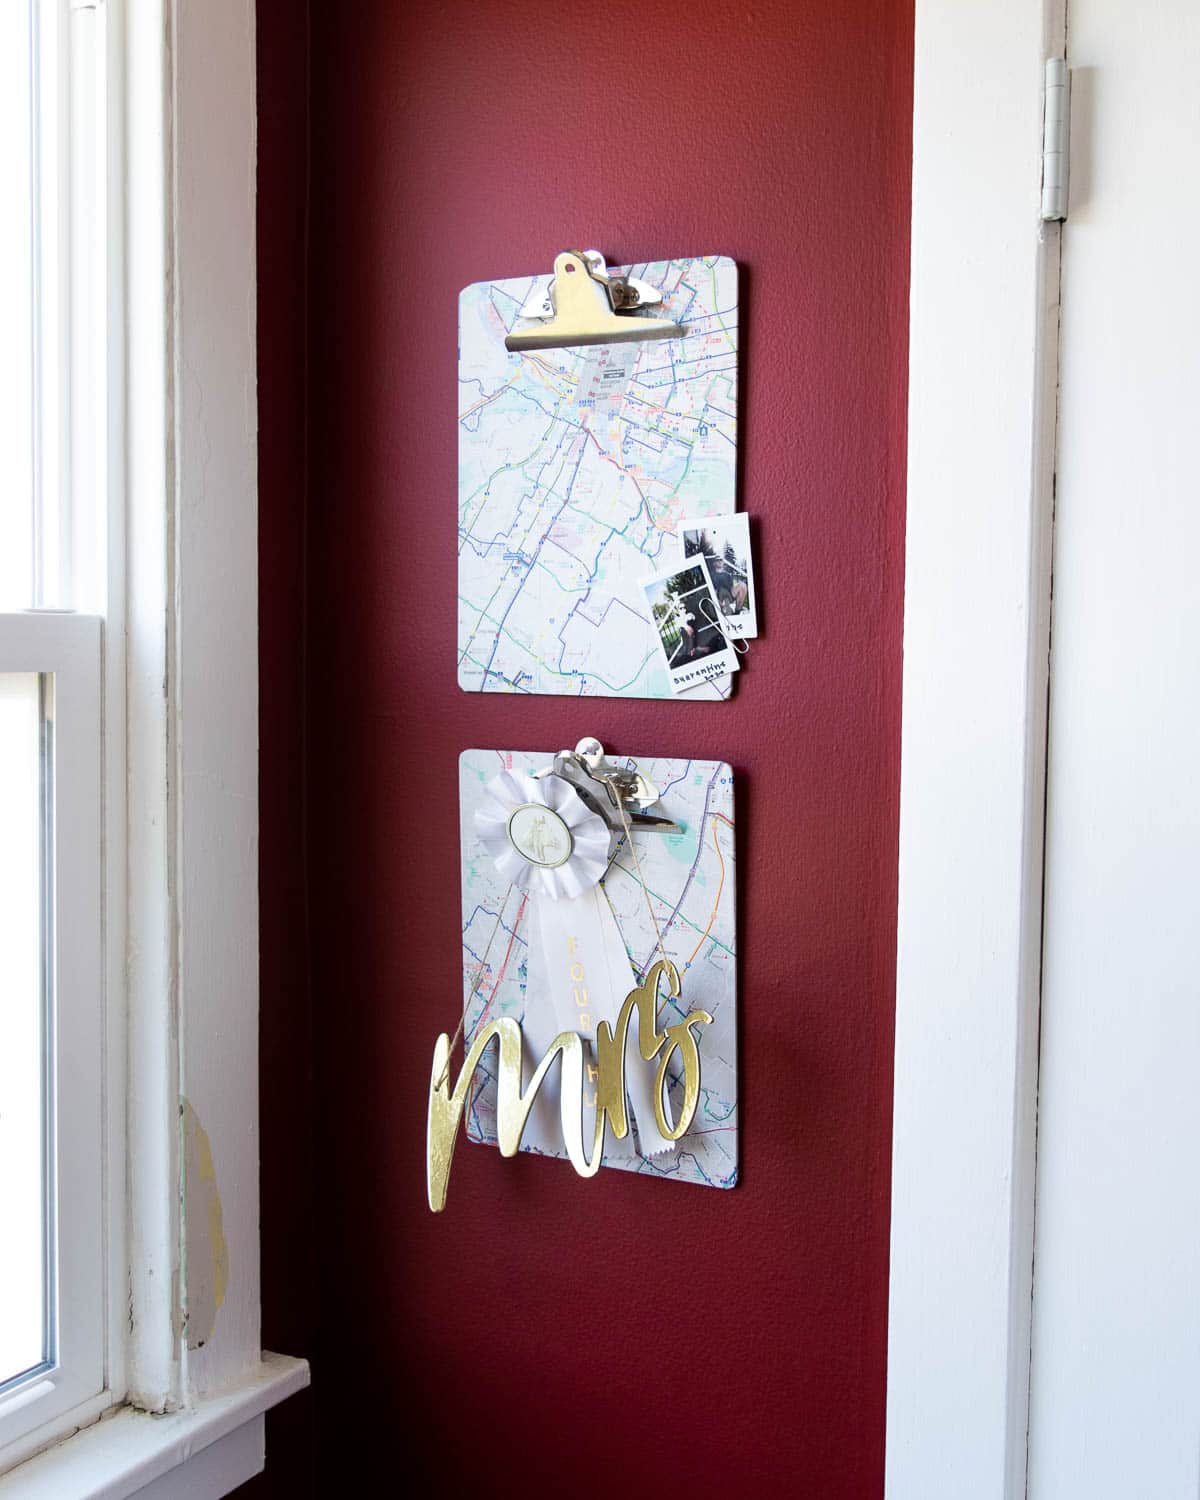
The other noticeable upgrade was turning a very ’90s lamp into something that didn’t stick out like a sore thumb. Two coats from a can of spray paint and a new lamp shade were all this lamp needed. I also covered two clipboards with a map of the Austin Capital Metro system for an easy way to display photos and other memories.
I think that I’d like to use the wall space above the lamp for a very low key gallery wall that wraps around the corner. This is definitely going to take a while to get right, so I’m not holding my breath. The succulents on the desk could also probably use some stones over the soil, so I’ll keep that in mind on my next run to Lowe’s or Home Depot.
The Total Cost
I wanted to keep the cost of this refresh below $150. But I also knew that making my workspace more functional was worth investing in. I chose not to spend money on updates that we wouldn’t be able to take with us when we left, like painting the walls or installing new blinds. Instead, I focused on pieces that will live beyond this office.
Dresser:
- Paint: $15.20
- Drawer pulls: $12.96
Bed:
- Bedding: $97.86
- Amenities: $20.62
Lamp:
- Paint: $4.33
- Lamp shade: $21.72
Total Cost: $172.69